|
Read The Manual
First and foremost, this essay is not intended as a replacement of the official Radio-SkyPipe II help pages. It only describes what worked for me, which may or may not work for you. I strongly suggest you read through all of the RSP help pages, paying particularly close attention to the information on the five subject pages listed below.
How I Did It
First, I run no software firewall on my RSP server machine. If you do run a firewall, you'll need to set up an exception for RSP. See the RSP help pages for instructions on how to do this.
Second, my RSP machine is set up with a fixed LAN IP address of 192.168.1.150. That's configured in the machine's TCP/IP network settings.
If your machine gets its LAN IP address from a router via DHCP, you'll need to change your TCP/IP network settings on your RSP machine to use a fixed LAN IP address. Make sure it's outside the range of addresses assignable by the router's DHCP service, but on the same subnet. For example, if your router can assign ten IP addresses from 192.168.1.100 through 109, you could give your machine a fixed LAN IP of 192.168.1.120 to avoid any address conflicts assuming all the other machines on your LAN get their LAN IP's from the router's DHCP service.
My internet connection consists of a DSL modem connected directly to a wireless router. My router functions as a hardware firewall.
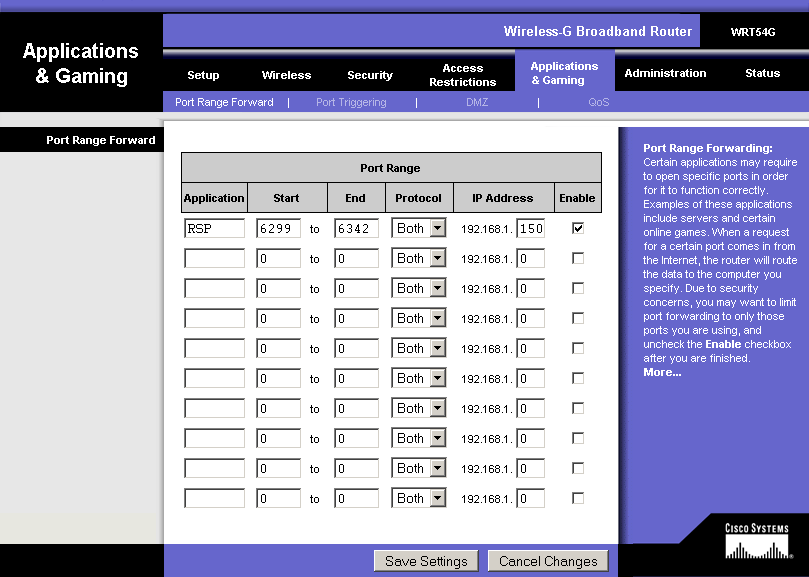
I enabled a tunnel through my router for ports 6299 through 6342 pointing to the machine on which RSP runs. Substitute the correct LAN IP address of your machine; don't use 192.168.1.150 unless that's really your machine's LAN IP address.
I then set up the RSP configuration pages to look like following.
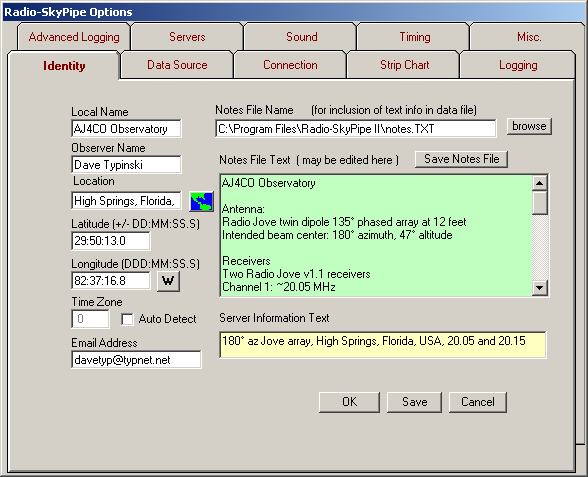
You'll want to enter identity and notes information as completely as possible; this information makes your data much more valuable to other observers. Note that my local time zone is really GMT-5, but the system clock on the machine on which my RSP server runs is set for GMT; thus, RSP doesn't have to make any adjustment. The text in the yellow box is what others will see in the list of available RSP servers. It is saved as part of the Notes file, so make sure to click Save Notes File after editing this information. Also, make sure to click Save at the bottom right before moving to another tab within the Options dialog.
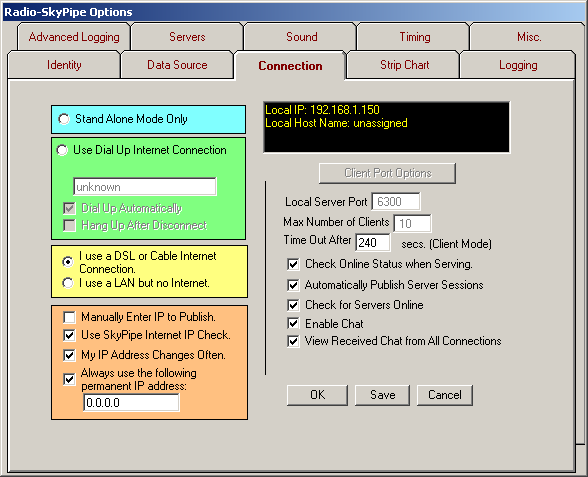
This is the all-important network configuration setup. On my installation, RSP wouldn't serve data if I had either my WAN IP or LAN IP entered in the IP address field. As the RSP help pages explain, 0.0.0.0 is a reserved address that, in effect, tells the software to figure it out for you. It worked great for me. After editing these settings, make sure to click Save at the bottom right before moving to another tab within the Options dialog.
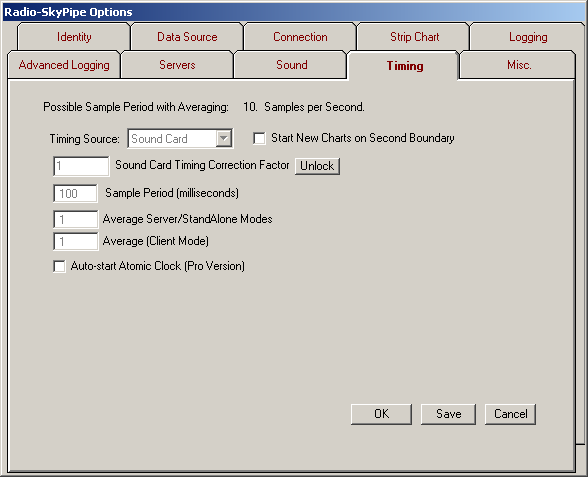
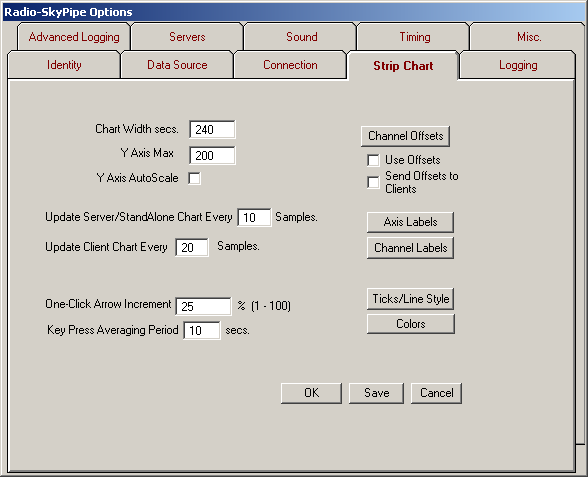
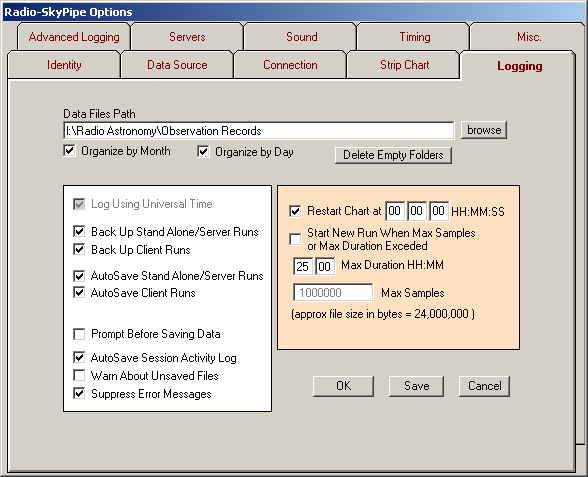
For general reference, but of no importance to setting up a Radio-SkyPipe server, some of my other RSP configuration pages look like this.
|